27.04.2020
Kneading and modelling – having fun,
working our fingers and exercising our hands…
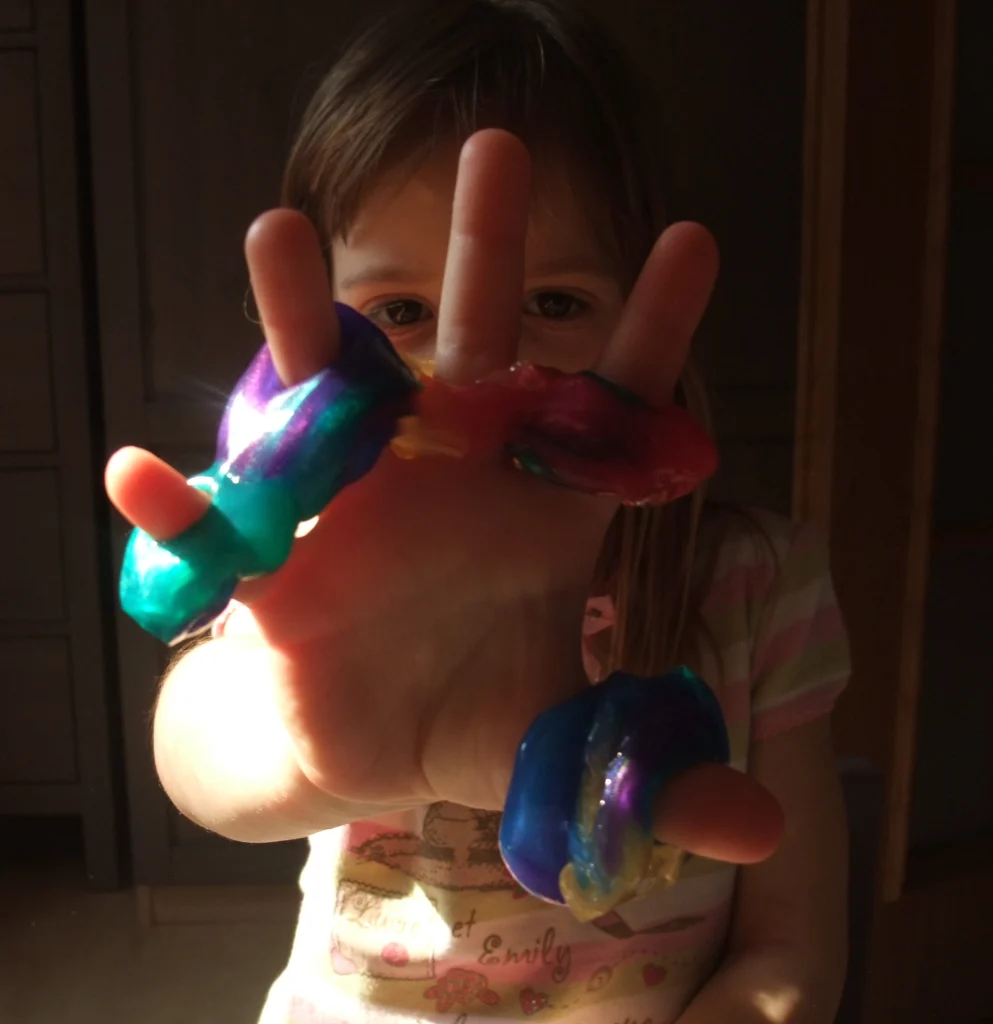
Playing with play dough, salt dough or plasticine is excellent training for little hands. By modelling and kneading different doughs, the child strengthens the muscles and joints of the hands and fingers, makes them more flexible and learns to adjust their strength to the resistance of the material. This will later make it easier to control the pressure and direction of a crayon or pen when drawing or writing. But above all, playing with doughs that can be shaped and transformed provides many interesting sensory experiences and is an opportunity to develop creativity and a sense of agency. The little one can do whatever they like with the dough, and every idea is a good one. What matters most is the activity itself, not just the result!
Here are some recipes for modelling doughs that you can make at home together with your child. Mixing the ingredients together can be just as much fun for them as playing with the finished dough.
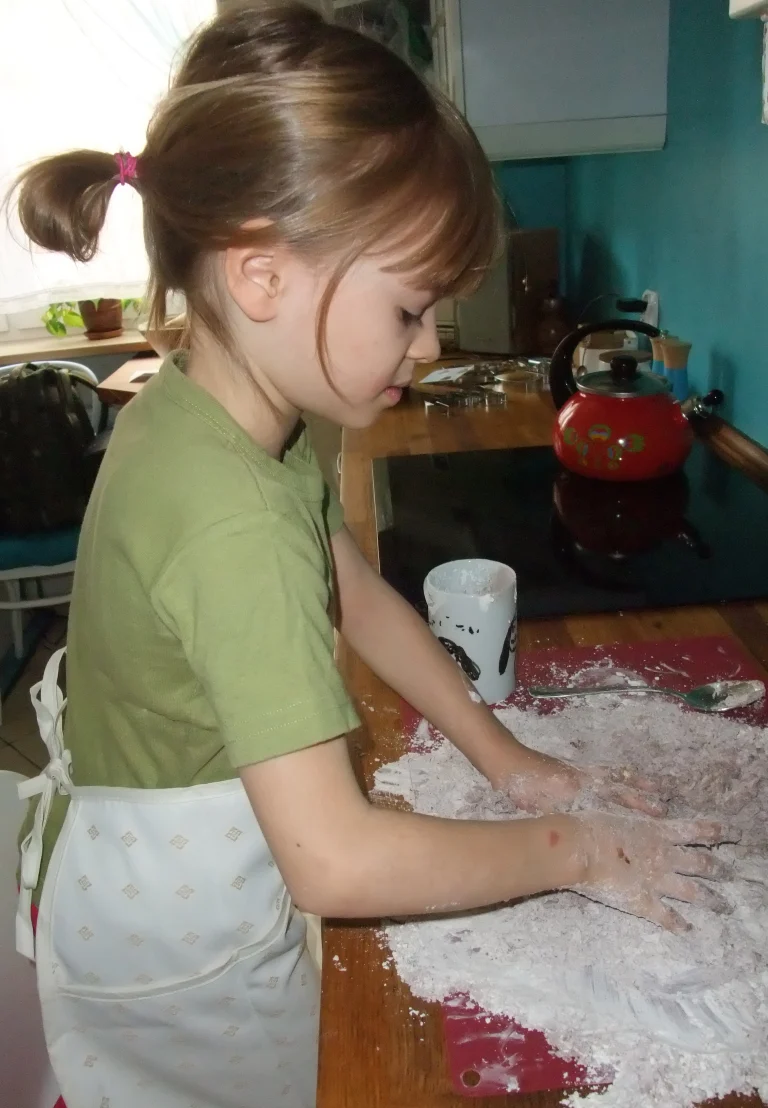
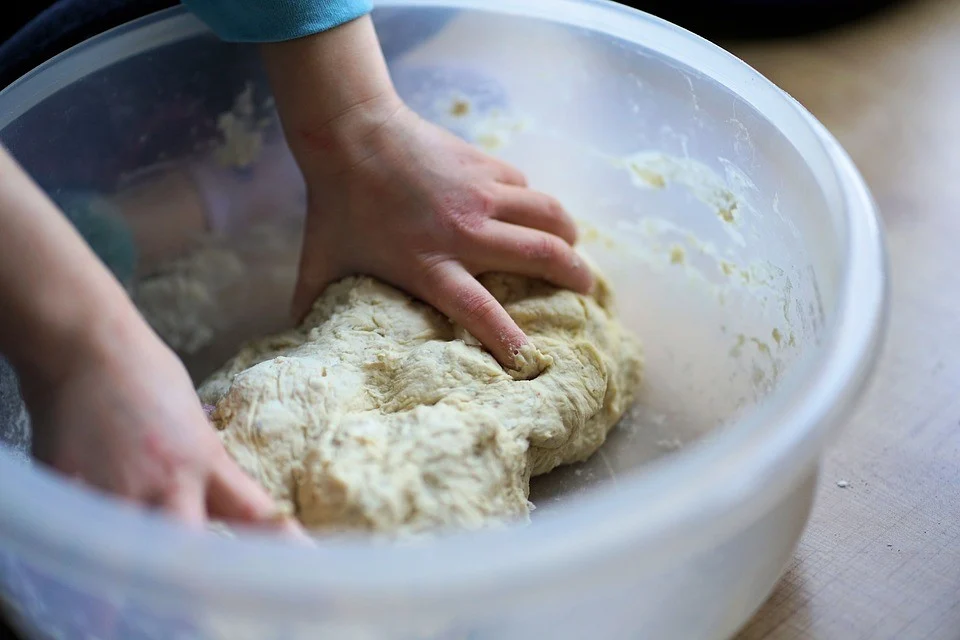
• Salt dough
Ingredients:
- 1 cup of flour,
- ½ cup of table salt,
- ¼ cup of potato starch,
- ½ cup (or a little more) of cold water.
Mix all the dry ingredients and gradually add the cold water. Knead into a dough with the consistency of soft plasticine.
• Gluten-free play dough
(for children with coeliac disease, gluten intolerance or allergy)
Ingredients:
- 1 cup of gluten-free flour (an all-purpose gluten-free mix, or rice, corn, pumpkin or oat flour mixed 1:1 with corn starch),
- ½ cup of fine salt,
- 1 tablespoon of oil,
- 1 tablespoon of gluten-free baking powder,
- ½ cup of cool water; optionally food colouring, baking flavouring or a few drops of scented oil (be careful with allergic children!).
Put all the ingredients in a pot and heat over a low flame, stirring all the time, until a firm lump forms that comes away from the bottom. When it has cooled slightly, take it out and knead it.
If your child is not on a gluten-free diet, you can use wheat flour in this recipe.
• Cloud dough (“wet sand”)
Ingredients:
- 4 cups of flour,
- ½ cup of oil.
Mix the ingredients together to make a dough with a sand-like consistency. You can make balls out of it or make “sand pies” with sandpit moulds.
You can play with these doughs in many different ways, depending on your child’s age and abilities:
- experimenting: kneading, tearing, squashing, rolling,
- modelling and rolling simple shapes such as a ball, a sausage or a flat cake, and trying to change them,
- making figures by joining simple shapes,
- cutting out shapes with cutters,
- pressing textures into the dough,
- cutting with a plastic or wooden knife or plastic scissors,
- sculpting from one lump with modelling tools and spatulas,
- making reliefs with a stick on a piece of cardboard covered with a thin layer of dough,
- covering “frames” with dough, e.g. jars, boxes, toilet paper rolls, etc.
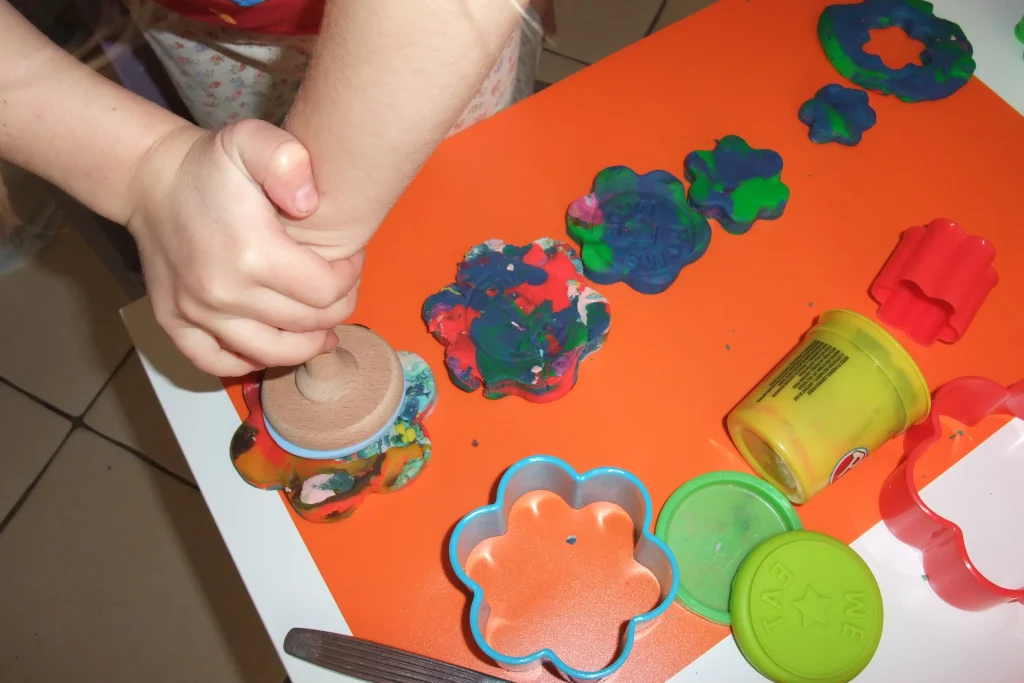
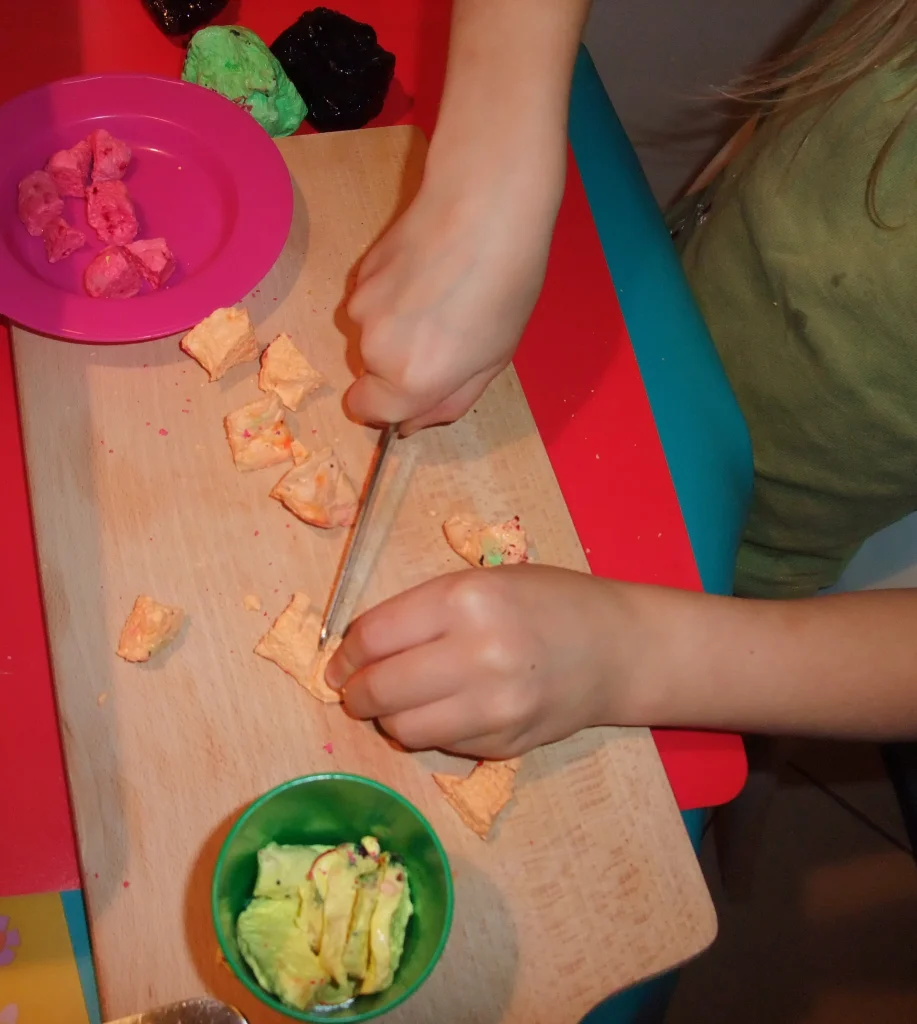
If your child is just getting to know modelling dough, let them experiment: pat it, squash it, tear it, roll the lump across the table, poke holes in it with their fingers…
While playing, you can say simple rhymes. Their rhythm will encourage the children’s hands to make regular movements, and besides exercising their hands, the children will also be improving their speech, hearing and memory. Try to match the rhythm of the hand movements to the rhythm of the rhyme, for example:
- when tearing the dough into pieces or cutting it with a plastic/wooden knife – a short “chop, chop, chop” chant,
- when rolling a piece of dough – “forwards and back, forwards and back” in time with the rolling,
- when rolling a sausage into a spiral to make a snail – a snail rhyme your child knows,
- when rolling a ball – put your hand on your child’s hand, help them roll the lump across the table and name its colour together,
- when flattening the ball into a pancake with an open hand – “pat, pat, pat”,
- to encourage separate finger movements, ask the child to poke holes in the pancake with their index finger – “tap, tap, tap”.
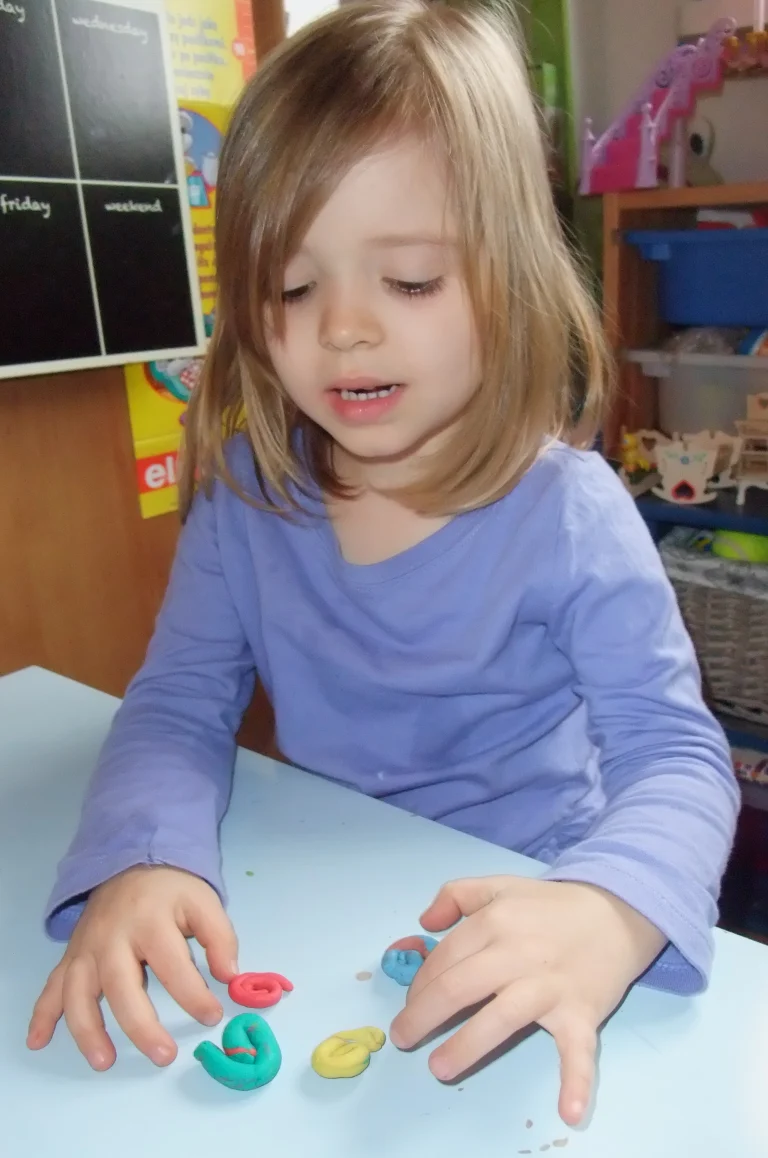
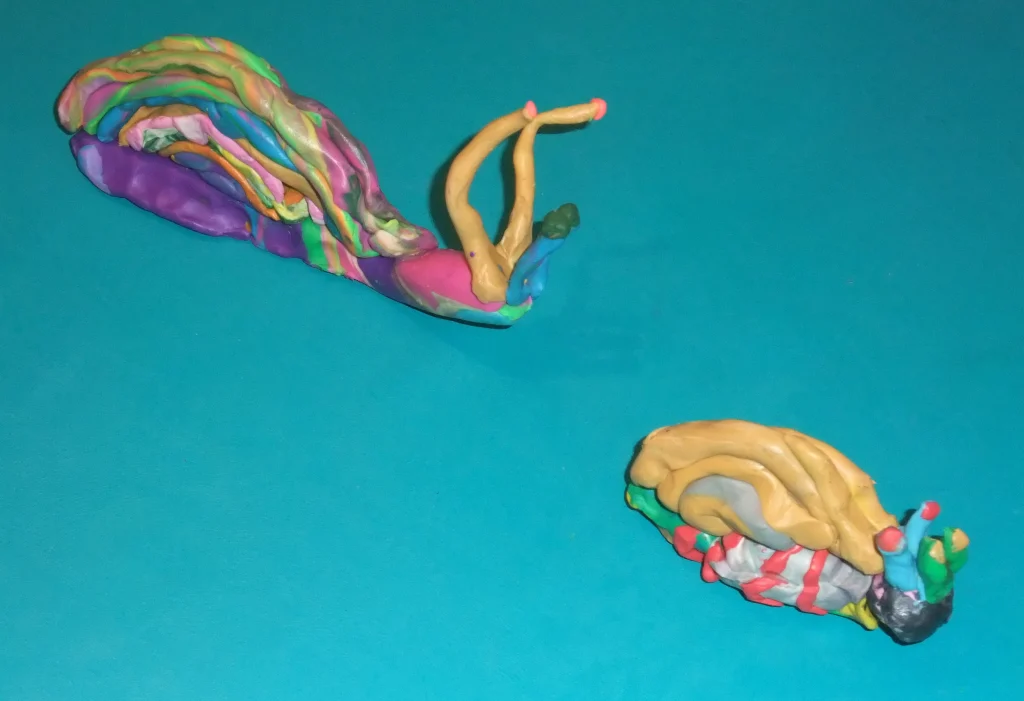
If you can’t or don’t want to make your own modelling dough, ordinary play dough or plasticine works just as well for all the activities above.
And here are a few more ideas for using plasticine with slightly older children:
| Little creatures made from nature’s gifts |
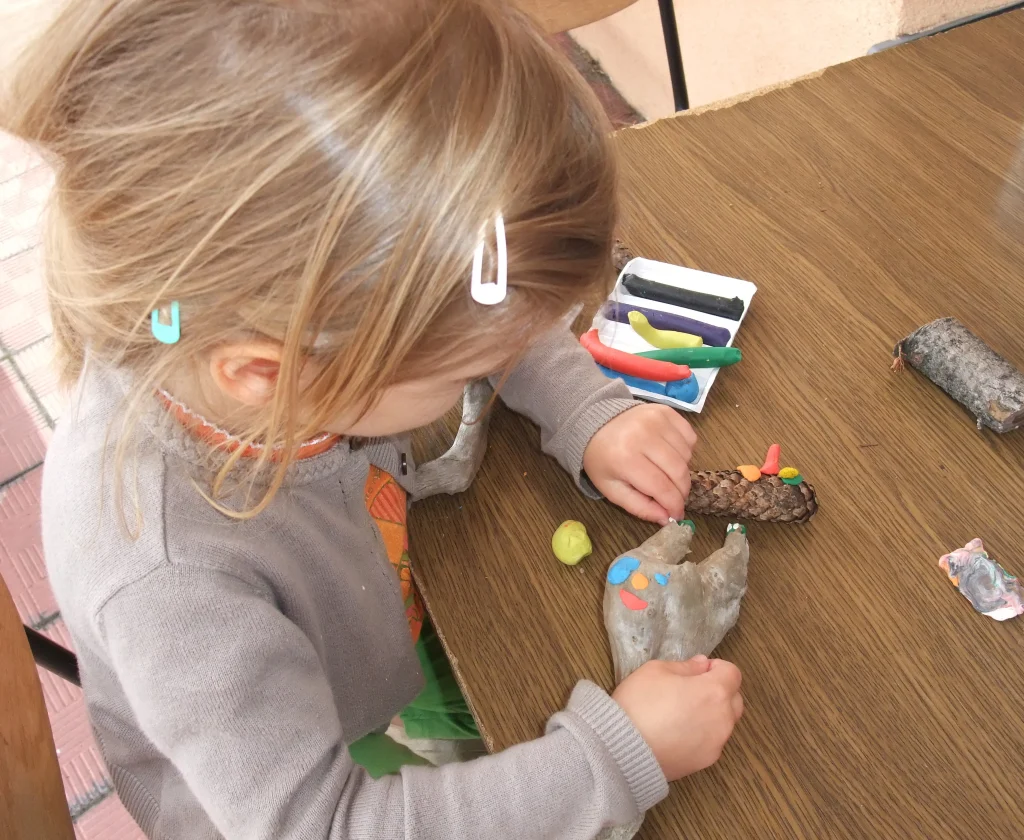
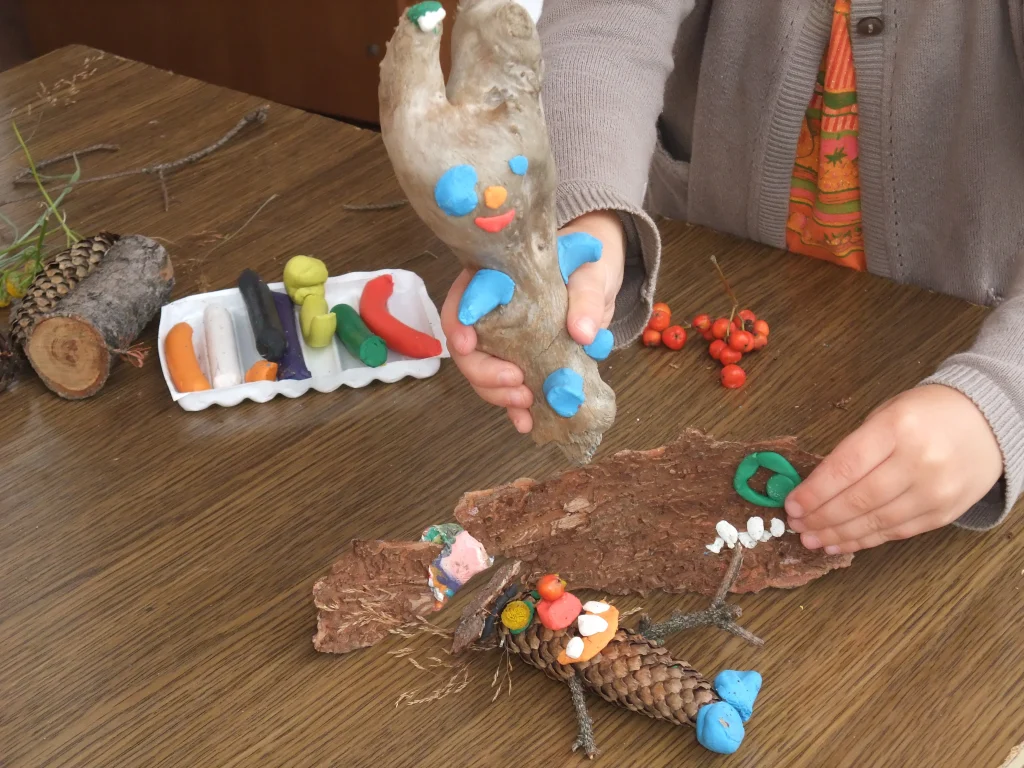
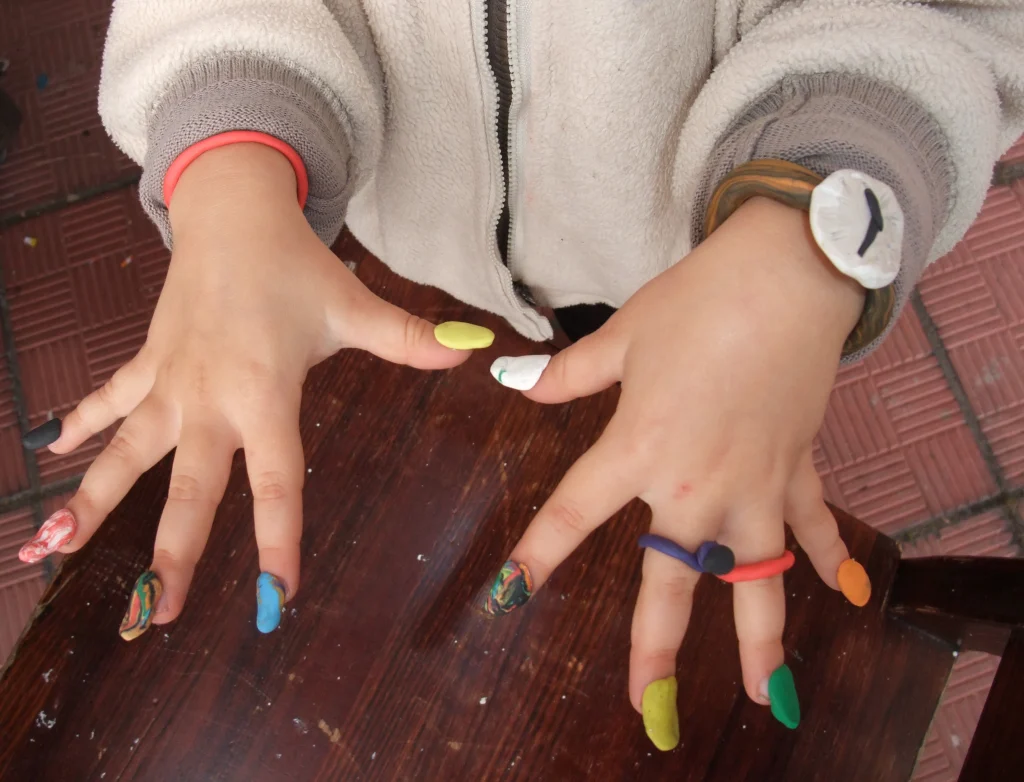
| Stylish jewellery, a watch and a manicure 🙂 |
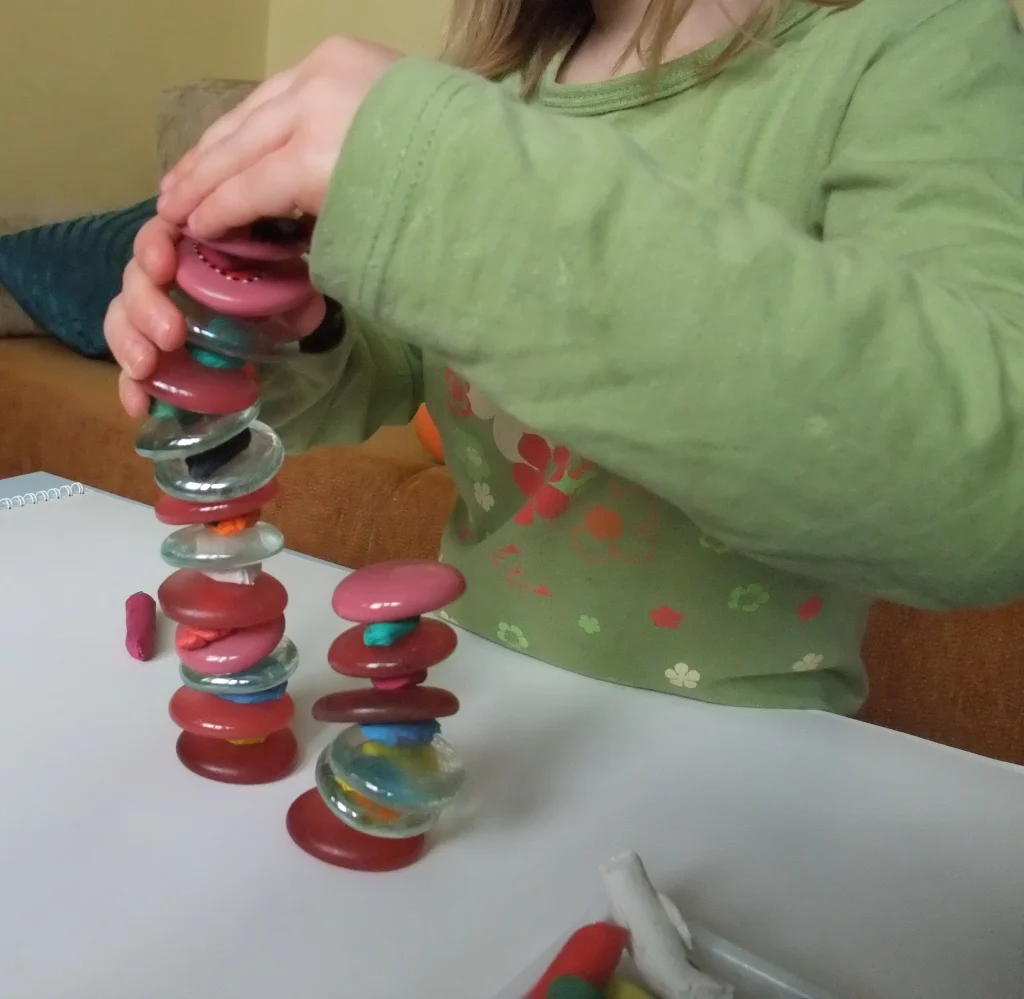
| Who can build the taller tower? |
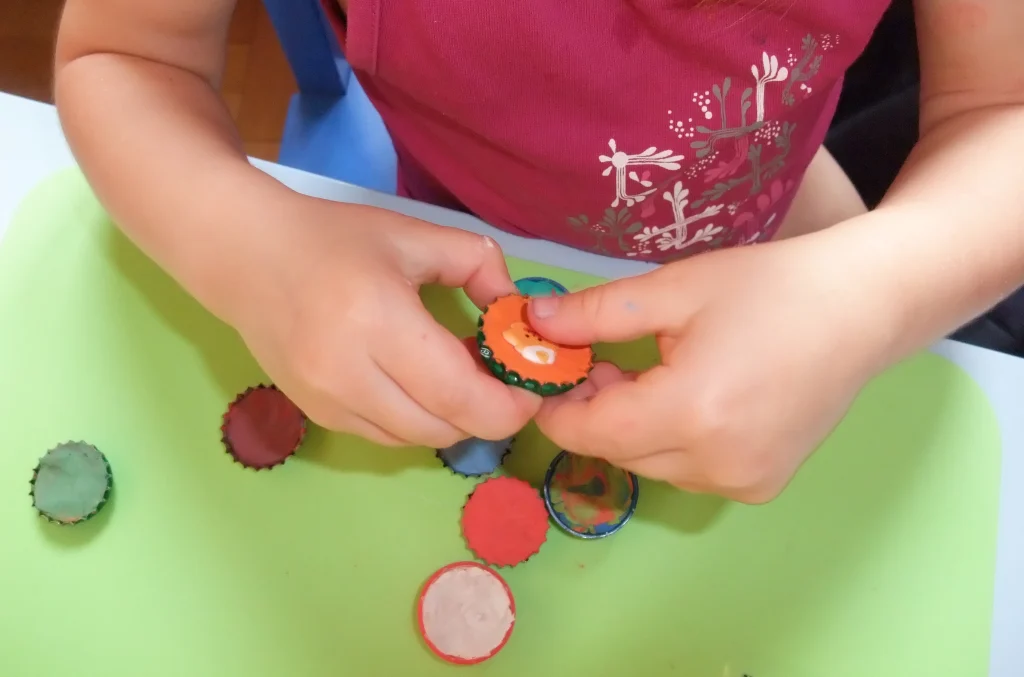
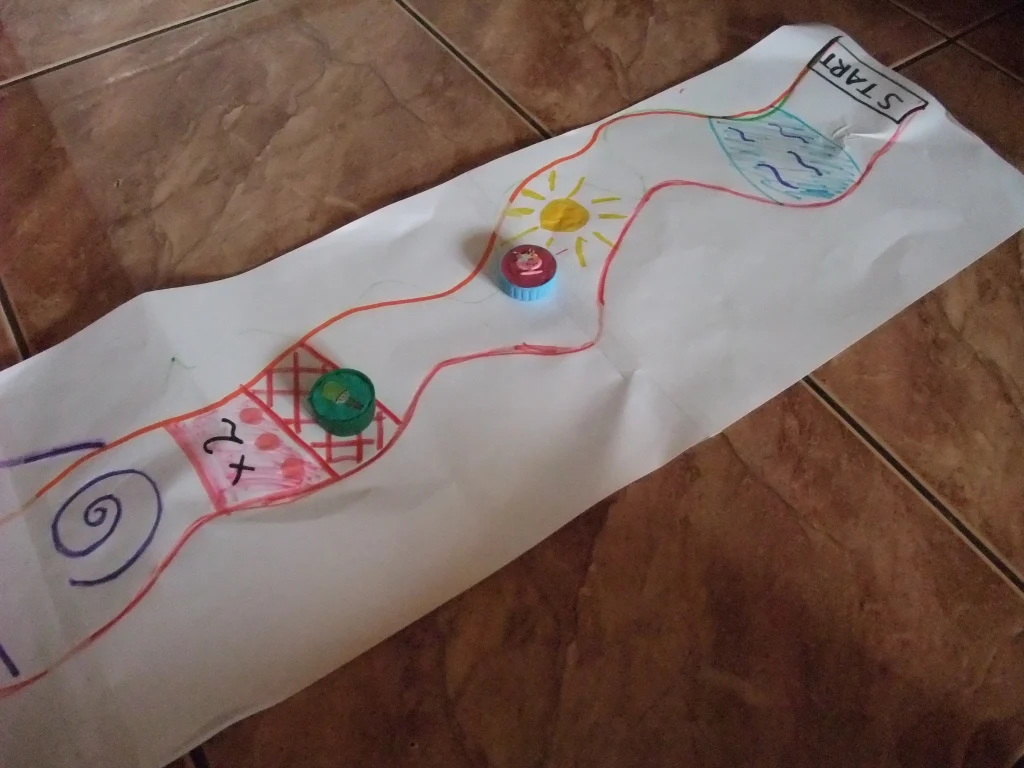
| How about a game of bottle caps? |
(let the children ask their grandparents what this game is…)
You can flick the caps along a track drawn in chalk on the pavement, or race them at home.
For more ideas, have a look here (in Polish): 7 ideas for games and art projects with plasticine
Have fun!
֍ ֍ ֍ ֍ ֍
30.03.2020
A few games to exercise little hands:
Busy board
Attach household objects that the child can manipulate to a board or a piece of plywood. For example: a tunnel made of paper rolls to drop a ball into, a stiff-bristled brush, a piece of soft fabric, bubble wrap, a light that switches on with a button, a piece of rustling material (e.g. a thermal blanket), a zip, a container with a screw cap, a bicycle bell or horn, a pot lid with a wooden spoon, or pegs to stretch rubber bands over.
Gel board
Put small items, e.g. sequins, pompoms or beads, into a zip-lock bag filled with hair gel. The child tries to push them around with their hands, fingers or one chosen finger.
Shaving foam on a tray
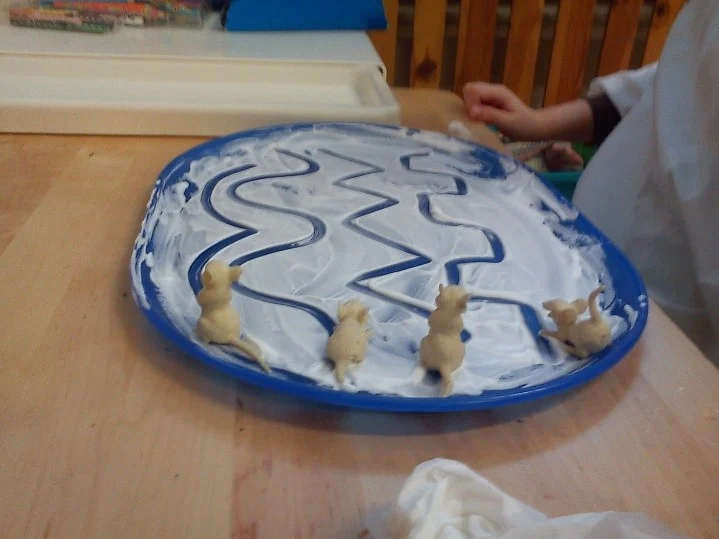
Draw with a finger, the whole hand, a paintbrush or a fork on a tray covered with a thin layer of shaving foam. You can trace around templates, make handprints and try pressing objects into the foam.